Wednesday, September 17, 2014

Beach Treasure Necklace


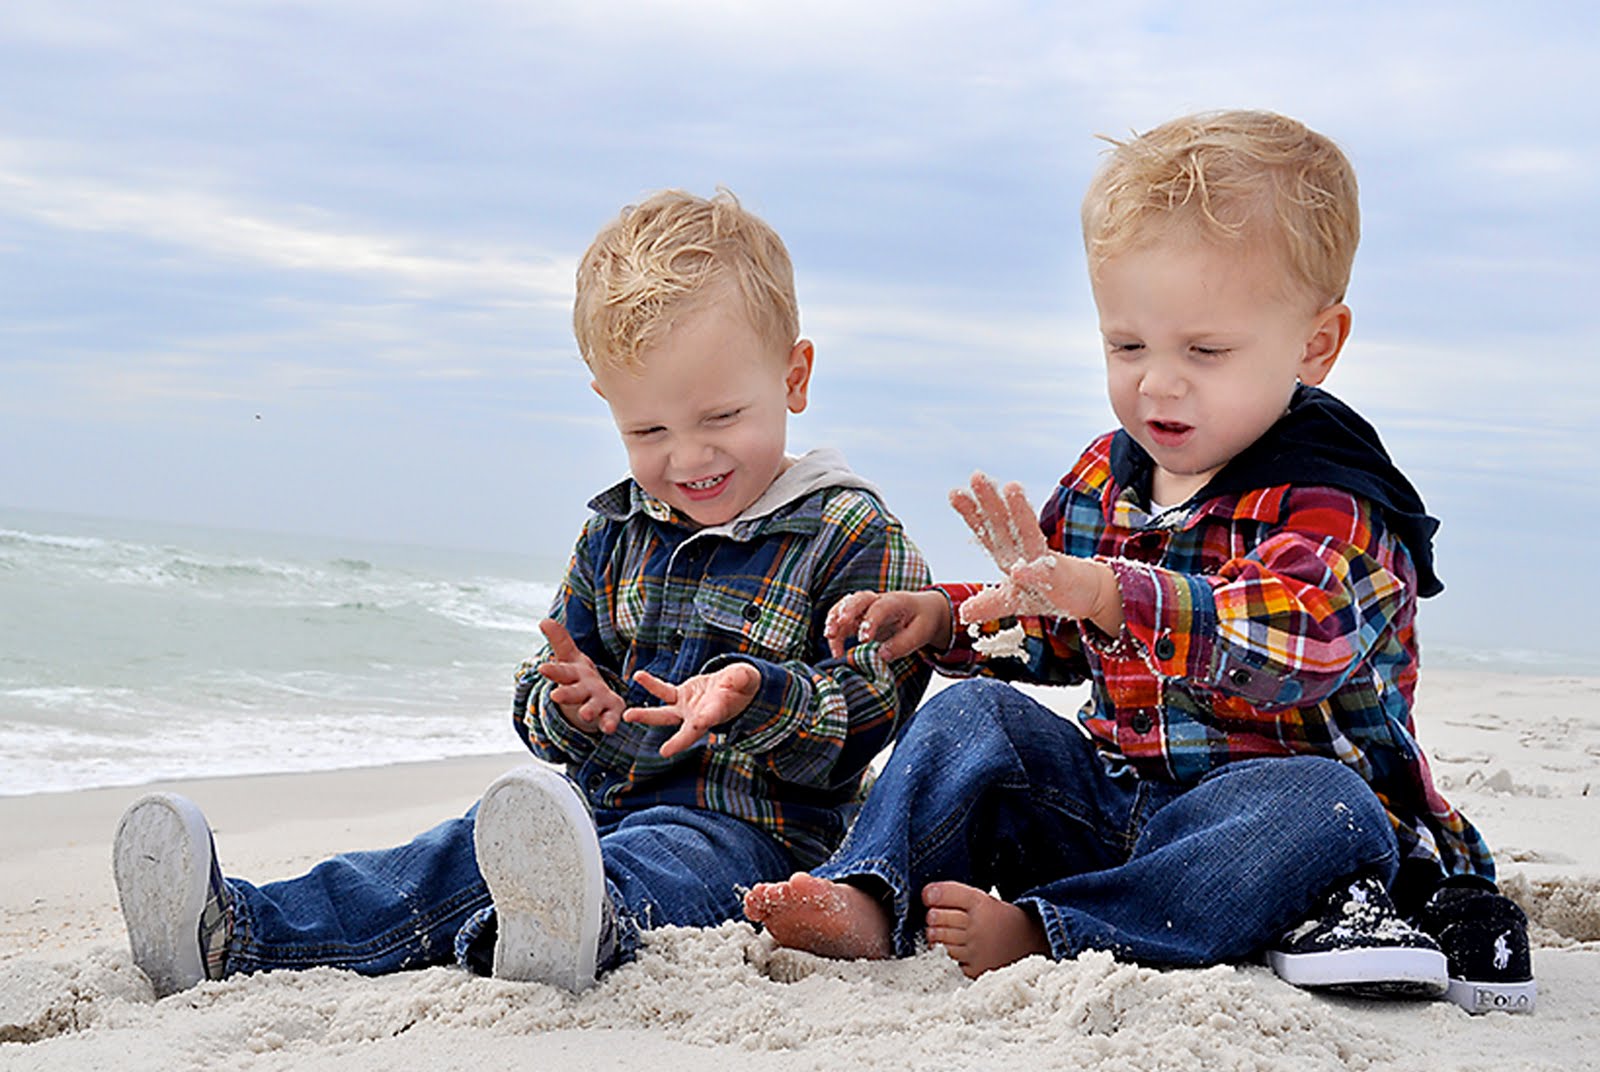
My boys have not always loved the beach.  In fact, it used to be torture to take them there.  They would get sand on themselves and then cry.  It would be hot, so they would cry.  Sand would get in their snack... and then they would cry.  Our maximum beach time was about an hour.  When they turned three, things started to get a little easier.  They suddenly wanted to go in the water.  They did not mind the sand stuck all over their little bodies.  They were having too much fun to notice the sand caked onto their hands and snacks as they ate.

Last weekend the boys woke me us up early.  They always wake up early, but this day particularly so.  They were bored and looking for messes to make and eager to wake their baby brother up.  So I decided to get them out of the house for a little while and take them over to the beach.   In between sand castle making and wave jumping, the boys were helping me collect shells for a decorating project.  One of the boys brought me a perfect, miniature shell.  I could use those for jewelry!  So we spent the rest of our time searching for the tiniest, most perfect shells we could find.
Rebecca Novotny Designs on Etsy
https://www.etsy.com/listing/203511844/miniature-shell-necklace?ref=shop_home_active_2

Later that night, I got to work on some new necklaces for my etsy shop.  Glass globe beads filled with the tiny seashells my sons and I collected, suspended from a sterling necklace.  I listed them for sale and sold my first one Sunday morning.  Here's to hoping for more sales and more mornings at the beach collecting shells with my boys!

Rebecca Novotny Designs on Etsy
https://www.etsy.com/listing/203511844/miniature-shell-necklace?ref=shop_home_active_2

Sunday, September 14, 2014

Tutorial: How to Make a Handpainted Christmas Countdown! (Advent Calendar)

Every fall I find myself immersed deep in the world of Holiday crafting. A chalkboard Christmas countdown is a simple craft that even the beginner crafter can pull off successfully. The materials are pretty inexpensive and the project can be completed in just a few hours! I've decided to share a step-by-step for those of you DIY'ers who need a little help through your crafting.  And for those of you anti-crafters out there (don't worry, I know you exist...), you can head on over to my etsy shop to purchase one that I have already finished!

Materials needed:
wooden plaque (Hobby Lobby, Michaels, etc...)
black, white, red, green acrylic paints
chalkboard paint
pencil
gesso
flat paint brush
small, round paint brush

Optional materials:
painter's Tape (I used wavy Frogtape)
gel medium varnish/mod podge gloss finish

The first thing to do is to prepare your painting surface. Occasionally, the wood needs to be sanded down a bit to remove any rough parts on the surface. Next, I apply a coat of gesso to the front and back. Gesso helps to create a smooth, paint-able surface.


Next, paint the base coat. For this project my base stripe was white, so I painted white paint over the gesso surface. When the base coat is dry, you can start to apply your painter's tape. (If you are not using painter's tape, use a pencil to lightly draw your stripes across the surface.)


Once the tape has been applied smoothly, begin to paint the red stripes. Allow the paint to dry thoroughly before removing your tape!
At this point, you can draw the oval that you will be painting with chalkboard paint. For mine, I cut an oval out of paper and traced it onto the board. Now, paint the area with two coats of chalkboard paint, allowing the first coat to dry before painting the second.

At this point, I painted the edges. First, paint the green stripe, being careful not to get paint on your freshly-painted striped surface. Lastly, paint the black stripe.


Now that the chalkboard paint has had time to dry, you can paint the border around it. I used a flat paintbrush to paint the alternating green and red stripes. Now it is time to paint the words onto your project. The easiest way for a beginner to paint letters is to print the words out from a computer and transfer them onto the board. You can do this using graphite paper, or by lightly shading the back of your paper with pencil and then tracing over the letters onto the board (I know you remember this from elementary school!) I painted my letters using a small, round paintbrush and black acrylic paint. Another option would be to draw them on using a black paint pen, or by using vinyl letter stickers. 


Last, I painted a clear coat of gloss over the entire sign, except for the chalkboard center. This just creates a seal, or top coat, over your painted project. It's not really necessary if you do not have the material, but the gloss will give your project a nice shine. *Note about using gloss: It will look white and milky when you paint it over your project. Don't panic! It will dry clear, I promise! You're done! 


Now, it is time to decide how to hang your project so that you can start counting down until Christmas!  There are a couple ways that you can do this.  One, is to add magnets to the back using a hot glue gun.  Then, you can hang your countdown on the refrigerator!
Another option is to add a claw tooth picture frame hanger on the back so that you can hang the plaque on the wall like a picture.


Monday, October 17, 2011

Happy Halloween... And birthday!!


We have been working on putting together a party twin's second birthday. We've been out of town for a month, leaving us only a few weeks to plan, invite, shop, prep, and decorate! Making things even harder, is that we went way over budget on our trip 'home' and will be trying to keep the cost of the party down.
After endlessly searching the web for ideas, things are finally coming together. Granted, I've given myself and endless amount of work to do because I've decided the best way to keep the cost down, and still have things I like.... is to make everything myself.

First project... favor bags. Cost? $0.00. I found small paper bags in blues and greens in my craft bucket. Not exactly Halloween colors... how can I make them work? How about turn them into Halloween monsters!! I am SO happy with how these came out!

Wednesday, December 15, 2010

And then there were cookies...


I should just go jump onto the elliptical machine now. It's never too early to start making Christmas cookies... right? Well, it is too early when it's two weeks before Christmas and you are the only person in the house who eats the cookies in question. Nevertheless, my mind was playing non-stop peanut blossoms, and I could not help but start baking. I can not wait until my little bugs are old enough to start baking with me!
All of my cookbooks and recipes were lost during one of the eight moves we've done in the last few years. A google search brought me to allrecipes.com, where I chose the following recipe for Peanut Blossoms:

Ingredients

* 1 cup shortening
* 1 cup peanut butter
* 1 cup packed brown sugar
* 1 cup white sugar
* 2 eggs
* 1/4 cup milk
* 2 teaspoons vanilla extract
* 3 1/2 cups all-purpose flour
* 2 teaspoons baking soda
* 1 teaspoon salt
* 1/2 cup white sugar for decoration
* 2 (9 ounce) bags milk chocolate candy kisses, unwrapped

Directions

1. Preheat oven to 375 degrees F (190 degrees C). Grease cookie sheets.
2. In a large bowl, cream together the shortening, peanut butter, brown sugar, and 1 cup white sugar until smooth. Beat in the eggs one at a time, and stir in the milk and vanilla. Combine the flour, baking soda, and salt; stir into the peanut butter mixture until well blended. Shape tablespoonfuls of dough into balls, and roll in remaining white sugar. Place cookies 2 inches apart on the prepared cookie sheets.
3. Bake for 10 to12 minutes in the preheated oven. Remove from oven, and immediately press a chocolate kiss into each cookie. Allow to cool completely; the kiss will harden as it cools.

The cookies are delicious. In fact, my peanut-butter-loathing husband came home from work and thought they looked so delicious that he took a giant bite out of one. What followed was a reaction so over the top that you would have thought I just tried to poison him by putting arsenic in his cookie. Nonetheless, I felt guilty and stayed up late to make him a batch of peanut-free chocolate chip cookies. 'Tis the season ;)

Tuesday, December 14, 2010

Time is running out!


For all of you "wait until the last minute" Christmas shoppers- there's good news! All orders from my Etsy shop that are purchased by Friday will ship this weekend. Just in time for Christmas!

Thursday, November 11, 2010

Vote for us to win the worst/funniest photo contest!


The blog over at EcoMom has a fantastic contest going on right now- with the opportunity to win over $600 in gift certificates! Currently, our boys are in FOURTH place-- only the top THREE get prizes! Help us win by voting for us HERE. Thank you!!!

Win a Free Bracelet!


Want to win a free bracelet from my etsy shop?? Head on over to Lauren's blog-- MidgetMomma.com to find out how!! Thank you Lauren!

Wednesday, November 10, 2010

Want a Free Nest Pendant?


If you are a Mom of multiples- this giveaway is for you!

Who wouldn't like a beautiful, handmade sterling silver nest pendant?

This week, Twiniversity is giving away, not one but TWO sterling silver nest pendants from my shop on Etsy!

The winners will get to choose either two or three pearls in white, green, pink, or blue! All you have to do, is join Twiniversity on bigtent.com and participate in this week's iTwins day daily discussion. Good Luck Multiple Mommies!!

Have you heard?

Have you heard about Zulily yet? One of my friend introduced me recently, and I am HOOKED! The have AMAZING daily deals (up to 70% off!). A lot of the items I see on here are not only ADORABLE, they are brands I usually shop, at a fraction of the price. Most of the stuff is for baby or child, however they also throw in a few Mommy sales as well. I've seen the most adorable line of Hurley baby clothes ever, P'kolino chairs (plllleeasse come back, I need to buy your for Christmas gifts!), and even Sanuk shoes (for me :))

It's FREE to join, so head over to Zulily and see what you're missing!

Ahhhh Where have I been?


Sorry it's been so long since I've posted. I've been stuck in a state of "I can't believe this.." because my TWINS have turned ONE!! I think for the first time, I sat back and said, 'oh my gosh, I am the mother to two children!'

Anyway, where I've really been... TEN family members came to visit the boys for their birthday. We prepared for my husband to leave for a 8 week TDY. We then planned for my husband to be around for the next eight weeks because his TDY was cancelled (woohoo!)
Throw in getting together THREE blog features, including giveaways (so stay tuned!)

Wednesday, August 25, 2010

Eco Mom Coupon Code for 15% off your first purchase!

If you are a Organic-loving Momma, here is a code to save 15% off your first purchase from EcoMom (including PlumOrganics baby food)! Use Code: SB004908 when you check out!

Tuesday, July 20, 2010

Win a Britax Blink Stroller from One Savvy Mom!


One Savvy Mom has a TON of great, active baby giveaways. The giveaways include an ErgoBaby Carrier, a Joovy Nook High Chair, and a Britax Blink Stroller! Head on over here to find out how YOU can enter to win!

Monday, July 19, 2010

Friday, July 16, 2010

Starla Sandal Giveaway!


Check out this giveaway to win a pair of GORGEOUS Starla Sandals via LeslieLovesVeggies!

It was hard to pick a favorite, but I went with the Turq. Stone Sandals!

Another Soda Stream Giveaway-- QUICK! Ends tomorrow!


There's another Mommy blog giving away a sodastream! Head over here to enter for your chance to win!

Mega Swagbucks Day!


I don't search with Swagbucks nearly as often as I should.... BUT I've still already earned enough points to cash in for an amazon.com giftcard! If you haven't signed up for Swagbucks... you should. You can earn points just by searching for things you search for every day.

Today is Mega Swagbucks Friday, and now is a great time to start earning. You can earn Swagbucks in increments of 10, 20, 50 and up to 100!

If you're not already a Swagbucks member, register now so you can claim 30 FREE Swagbucks!